Postman is a vital tool for Android developers that provides an easy and powerful interface for testing and automating API calls. Whether you’re testing endpoints, managing tokens, or switching environments, Postman simplifies the process. In this guide, we’ll cover everything Android developers need to know about Postman, from setting up workspaces to managing tokens and automating requests. It’s one of the most used tools in your company.
How to download Postman?
Postman is a tool that makes advanced API calls. You can easily download and use it on your Mac, Linux, Windows devices. First, go to the following address on the Postman official website (https://www.postman.com/downloads/). Then download according to your device type. And let’s take a look at How to use Postman from where we left off.
Creating a Team Workspace in Postman
Postman allows developers to collaborate in team workspaces, where you can share collections and environments with your team. To create a workspace:
- Create: Click “Workspaces” in the Postman app and select “Create Workspace.” Name your workspace and invite team members.
- Join: If you’re invited to a workspace, you’ll receive a link. Click it to join the shared workspace.
By using workspaces, developers working on the same Android app can easily share API test collections and environment settings.
How to Set Up API Requests
Postman makes it easy to set up and test different HTTP requests. The most commonly used requests for Android developers are GET, POST, PUT, and DELETE:
- GET: Retrieve data from a server.
- POST: Send data to the server.
- PUT: Update existing resources on the server.
- DELETE: Remove resources from the server.
For more details about working with APIs and handling HTTP requests in Android development, check out my guide on Understanding Mobile App Architecture.
Let’s create a sample request for Postman
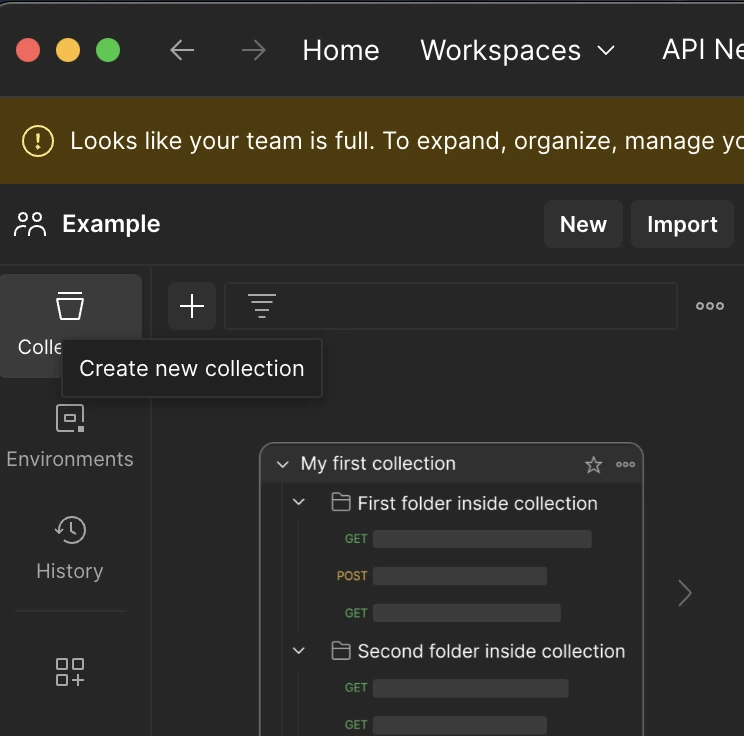
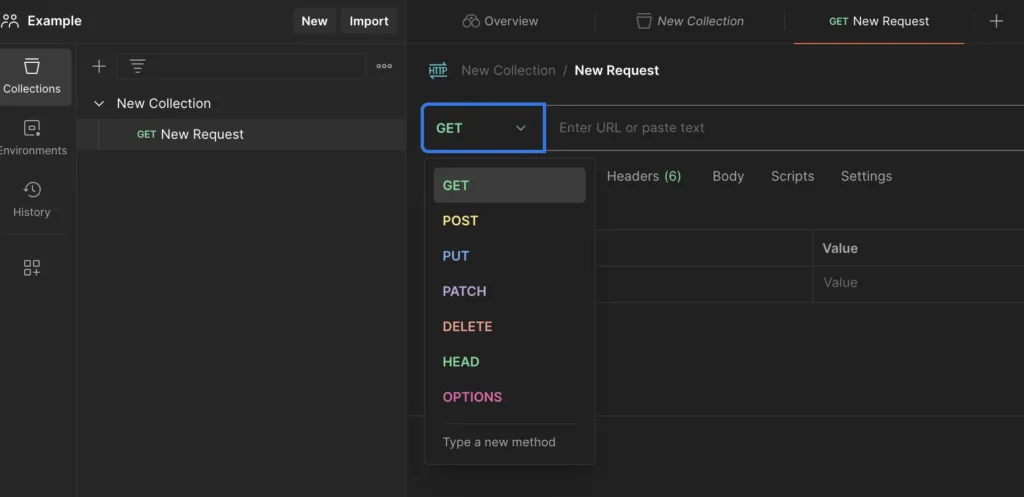
Click on the + button on the top left of the workspaces you created from the Postman interface to trigger the “Create New Collection” action. You can name the folder by hovering over it.
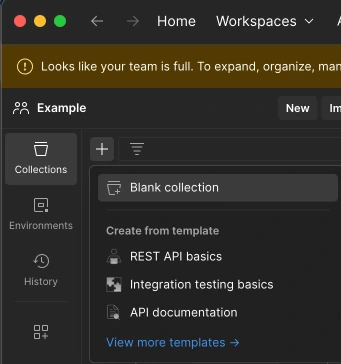
Click on the “Add a request” button under the created folder or the “New” button above the folders and select the HTTP option.

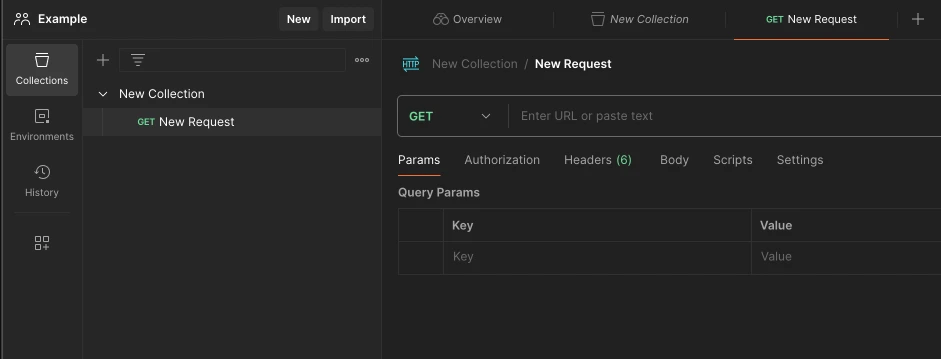
Write https://postman-echo.com/get in the “Enter URL or paste text” input that will automatically create a “GET” request for you and click send.
In this way, your first request should have been sent and you should see the response below.
Don’t forget to ask for help from your teammates to learn how to use Postman better. Because every project is different.
Bearer Token Authentication for Postman
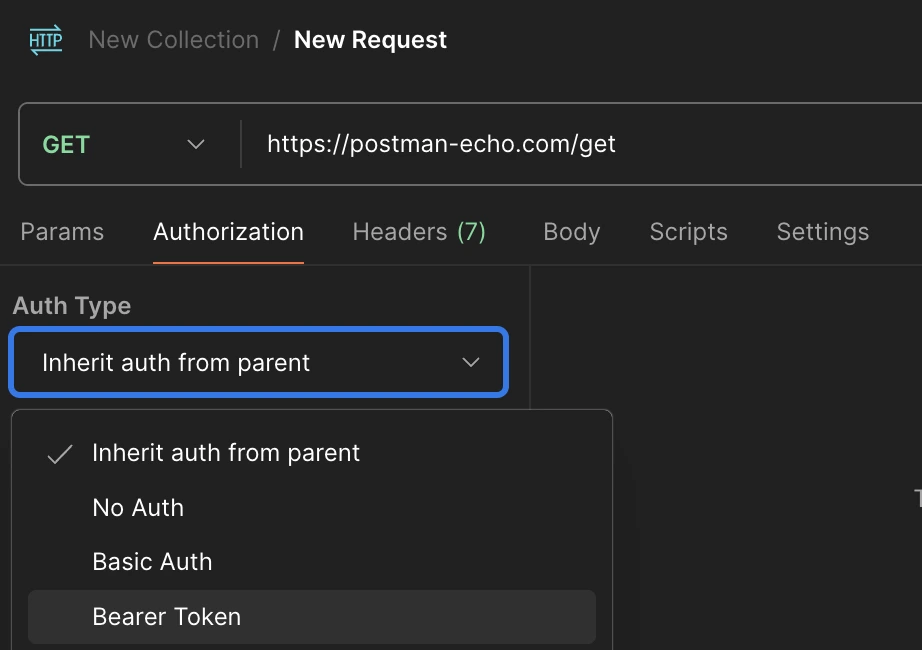
When dealing with API requests, Bearer Token authentication is a common method. Here’s how to handle Bearer Tokens in Postman:
- Select the “Authorization” tab in your Postman request.
- From the type dropdown, select “Bearer Token.”
- Enter your token in the input field. Postman will automatically append it to the header.
For Android developers who need to automate token handling, Postman offers a powerful way to manage tokens using environment variables and scripts.
Automating Token Management Using Environment Variables
Instead of manually copying tokens between requests, Postman allows you to store them as environment variables. Here’s how you can automate this:
- Navigate to the “Tests/Scripts” tab of your request.
- Add the following script to save the token from the response as an environment variable:
pm.test("Extract Token", function () {
   var jsonData = pm.response.json();
   pm.environment.set("token", jsonData.token);
});
Once you’ve set this up, you can use {{token}} in any request and Postman will automatically insert the latest token.
For further reading on token-based authentication and API management, check out my article on how to handle cookies in Android WebView.
cURL Commands for Backend Reporting
When communicating API issues with backend developers, sending a cURL command is helpful. Postman can easily generate cURL commands:
- Click the “Code” button in the Postman UI.

- Select “cURL” from the list of available languages.
- Copy the command and share it with your backend team.
This functionality is essential when you need to report detailed API issues, and it ensures that developers can easily reproduce the problem.
Working with Environments: Development, Staging, and Production
Postman allows you to manage different environments like development, staging, and production. To switch between these environments, follow these steps:
- Create environments in the settings menu, defining variables such as
{{base_url}}. - Switch between environments by selecting the desired environment in the top-right corner of Postman.
For example, if you’re switching between development and production servers, set up the base URL as an environment variable. You can quickly switch between them without manually changing every request.
Check out my article on Kotlin coroutines for more tips on managing API calls efficiently.
Running Automated Tests in Postman
Postman provides the ability to write test scripts, which can help you automate validation checks. For example, you can verify if the API is returning the correct status code:
pm.test("Status code is 200", function () {
    pm.response.to.have.status(200);
});
This feature is particularly useful when running large API collections or using Postman in CI/CD pipelines.
Conclusion
Postman offers powerful features that make API testing and debugging easier for Android developers. From creating workspaces to automating token management, mastering Postman will streamline your workflow. By taking advantage of Postman’s scripting and environment management features, Android developers can quickly identify and resolve issues.
If you’re looking to further your API testing skills, I recommend reading the official Postman Documentation or exploring the Android API best practices from the Android Developer Documentation.
Did you like this article?
You can subscribe to my newsletter below and get updates about my new articles.